Vinyl Lettering, Die-Cut Graphics, Vehicle Wraps and Stickers in Orange County
Applying decals can be a frustrating process if you do not know the proper procedure to successfully install your graphics. We have broken down our system for installing decals, in 6 easy steps, so you will consistently install graphics that are straight and bubble-free!
STEP 1 – Clean your surface
|
STEP 2 – Position your Graphic
|
STEP 3 – Tack your Decal
Notice in this image, how the installer separated the paper-backing, from the graphic, yet did not completely peel it from either the surface or the graphic. |
STEP 4 – Remove the Paper-Backing
|
STEP 5 – Apply your Decal
|
STEP 6 – Remove the Application Tape
|
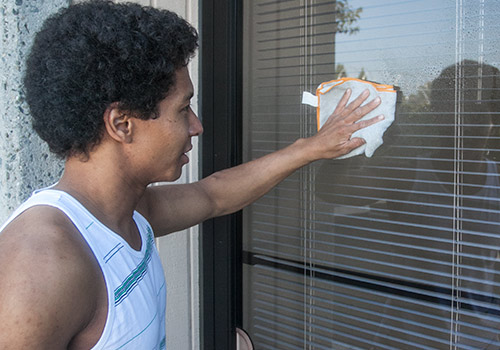 The vinyl film your graphic is made of is extremely thin; therefore any debris or dirt that is on your surface will show through your decal. Ideally you should clean not only your application area but also the surrounding area, because a static electric charge can occur when separating your graphic from the paper backing, which can attract debris.
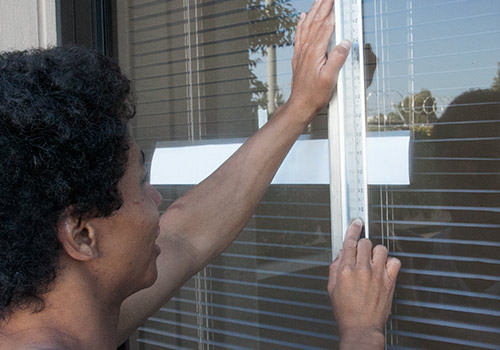 The positioning of your decal sticker should be verified for accuracy by making sure both ends of your graphic are equidistance from a reference point such as a door frame, or by using a level. Depending on the shape of your graphic, and it’s location, you may have to use another method of measuring. For example, oddly shaped graphics can be hard to position by measuring, and using a level on a vehicle graphic is impractical because of the many contours on vehicles.
 Before removing the paper-backing from your decal, secure both sides of your graphic with masking tape. This step offers two benefits:
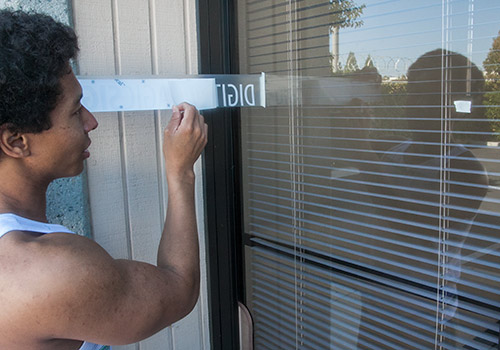 With one hinge(The “tacked” masking edge from step 3) still connected to the surface, slowly remove 33% of the paper-backing. This process should be done while retaining tension on the graphic as well as keeping your graphic close to the surface. Once you have a portion of the graphic exposed, you start to apply the graphic(Step 5). Continue removing the paper-backing until step 5 is complete.
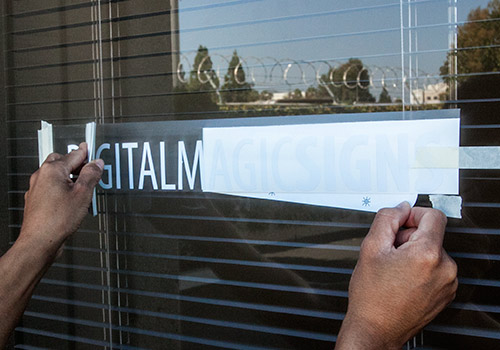 The graphic should be applied with a squeegee with a firm amount of pressure. The remaining of your paper-backing should be removed as you apply the sticker. Always be mindful of retaining tension on the graphic. The tension is an installer’s secret to bubble-free installation.
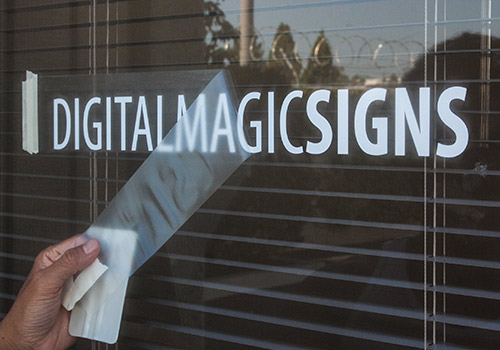 This is the last step in installation and the easiest step to make a mistake on. Remove the application tape slowly because a swift pull of unsecured vinyl can result in tears in your graphic that undermines the entire process as well as your decal. The adhesive material of the application tape is less aggresive than that on the vinyl, but it’s still an adhesive! Carefully peel the application tape away from the decal, making sure the sticker is staying on it’s surface.


